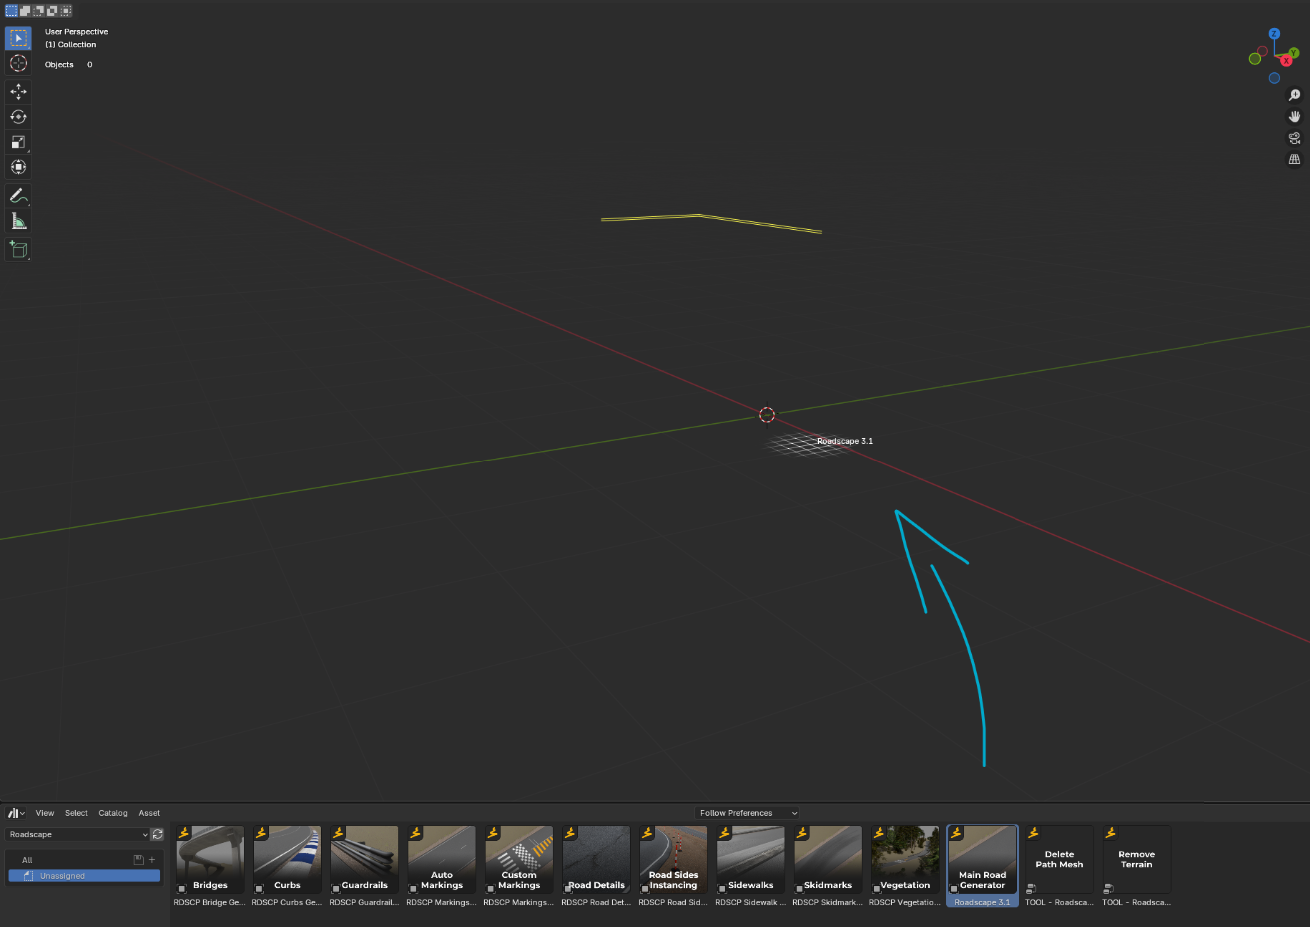
1) Import the Main Generator
To import the main generator into your scene, simply drag and drop it from your Asset Browser to your 3D Viewport:
Whenever you import a generator from your Asset Browser into your scene, it is important to reset the transforms of the imported object.
To do that, simply keep the imported object selected and do ALT+R, ALT+S and ALT+G.
This will reset the rotation, scale and position of the object.
2) Set Wireframe as quick favorite
Whenever you use Roadscape, it is recommended to use the wireframe in order to see what you are actually doing with the intersections.
In order to activate it easily, let’s add it to our quick favorite menu.
In the main 3D viewport, go to the top right and open the overlays menu:
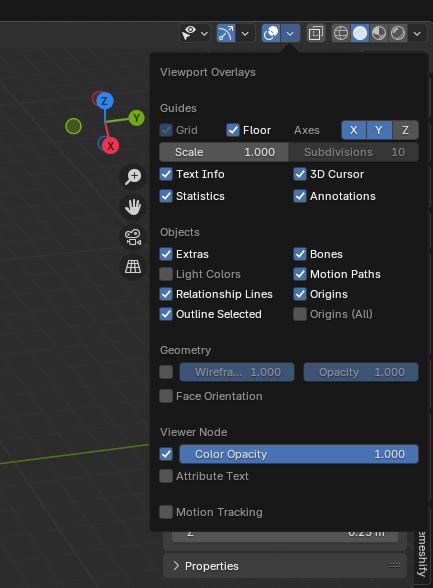
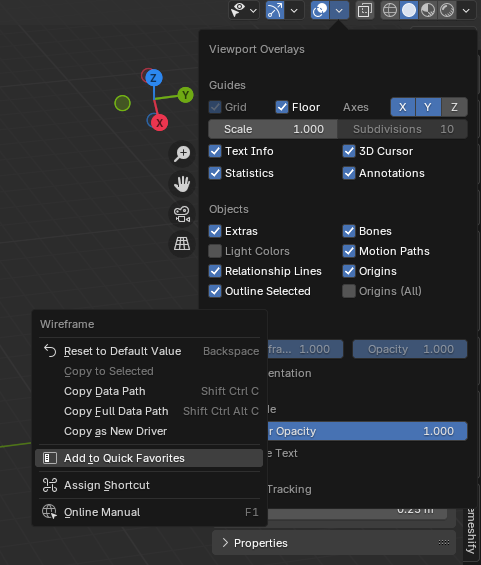
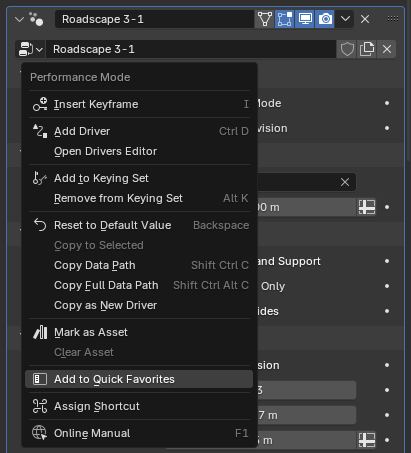
Right click on the checkbox right next to the darkened Wireframe slider and add it to the Quick Favorites:
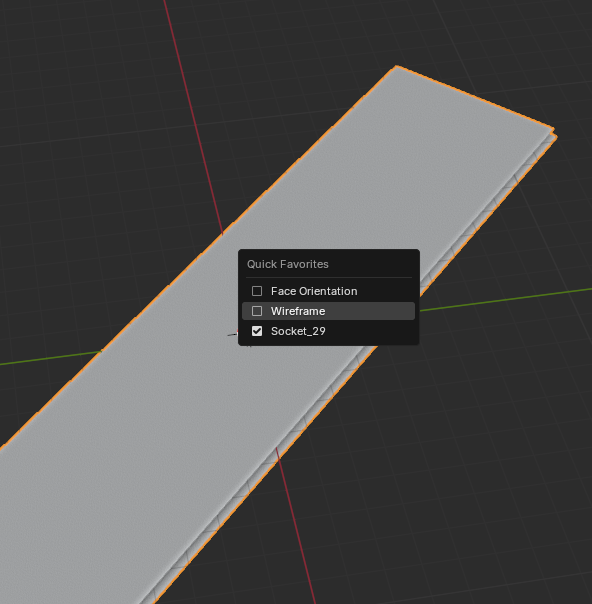
Now, you can easily toggle it, by pressing Q in the main 3D Viewport:
3) Add a Terrain
Next, we need to add a terrain mesh to work with.
You can use any terrain mesh you want, I would recommend you use a terrain with quad topology but Roadscape will also work with irregular triangulated or poor topology terrains.
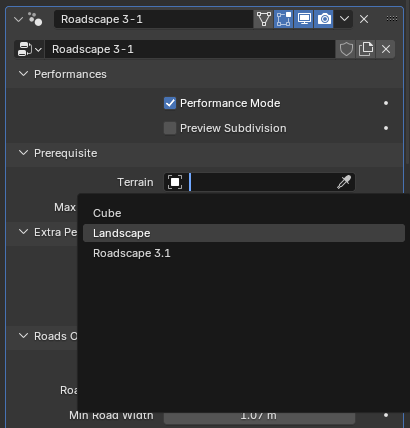
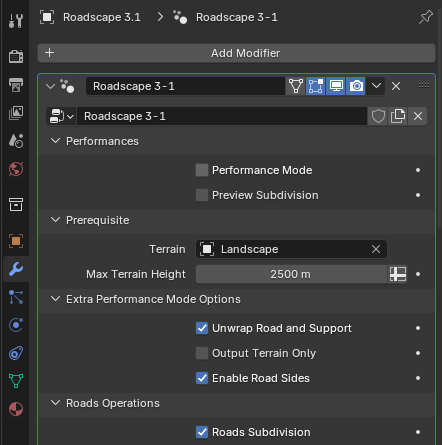
Once your terrain is in the scene, select the Roadscape 3.1 object and go to the modifier tab:
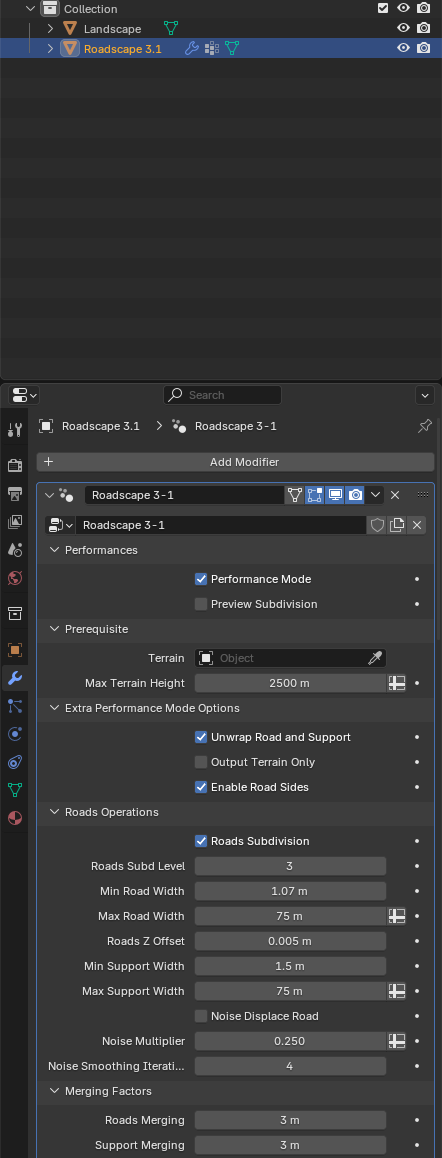
In here, select and insert your terrain object in the Prerequisite Terrain field:
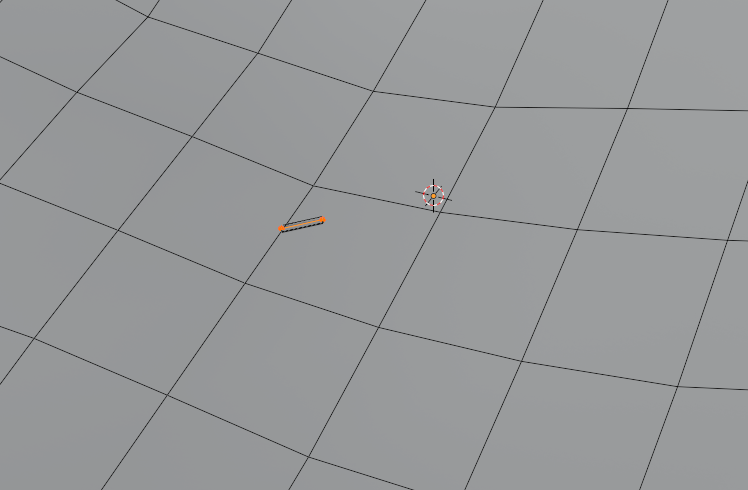
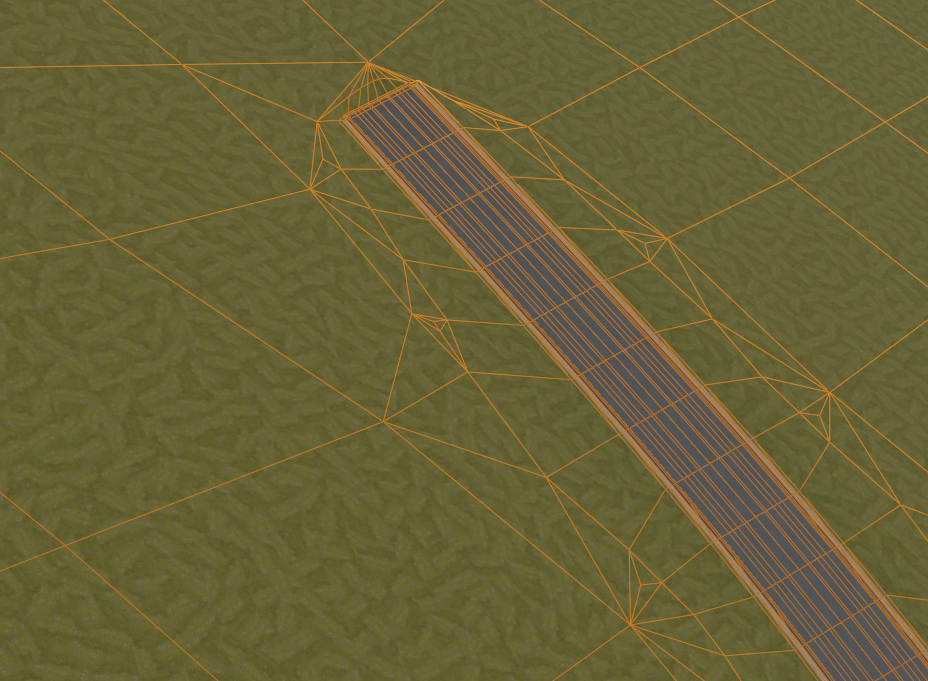
4) Trace your first road
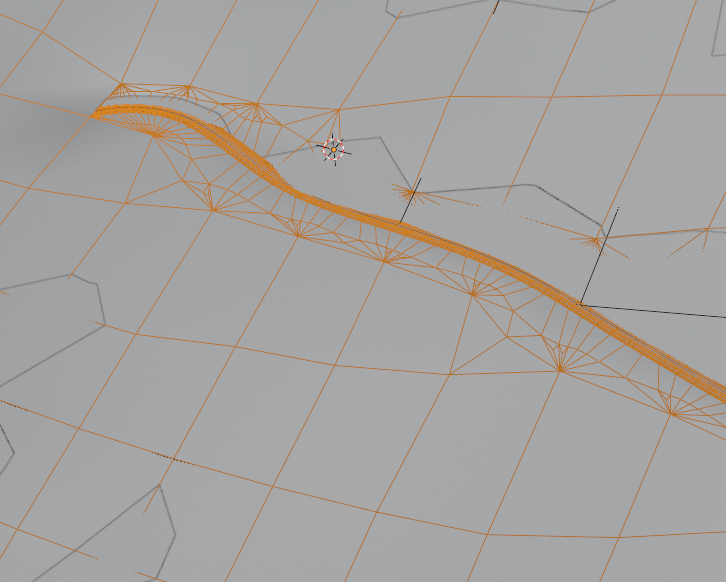
Now, keep the Roadscape 3.1 object selected and go into edit mode (TAB) and focus on the actual bit of mesh already existing, you will find two edges, one creased and one with road generated on it:
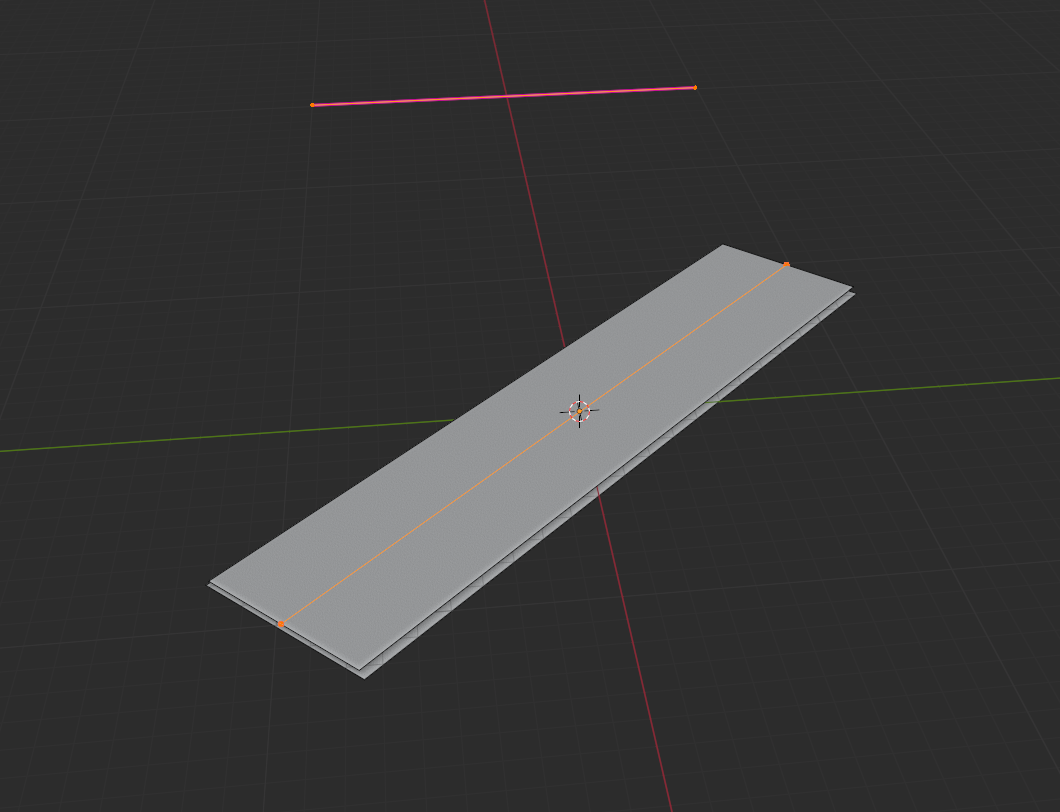
Deselect the creased one (pink).
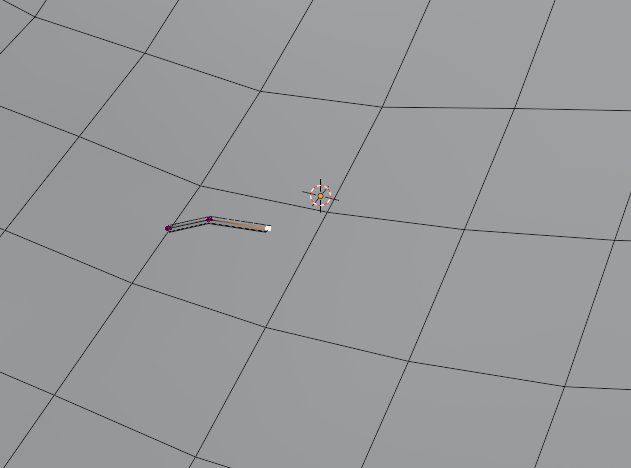
Go to the top of the 3D viewport and open the Snapping tool dropdown menu, in here, set everything as so, and don’t forget to enable the Snapping by toggling the magnet icon to blue:
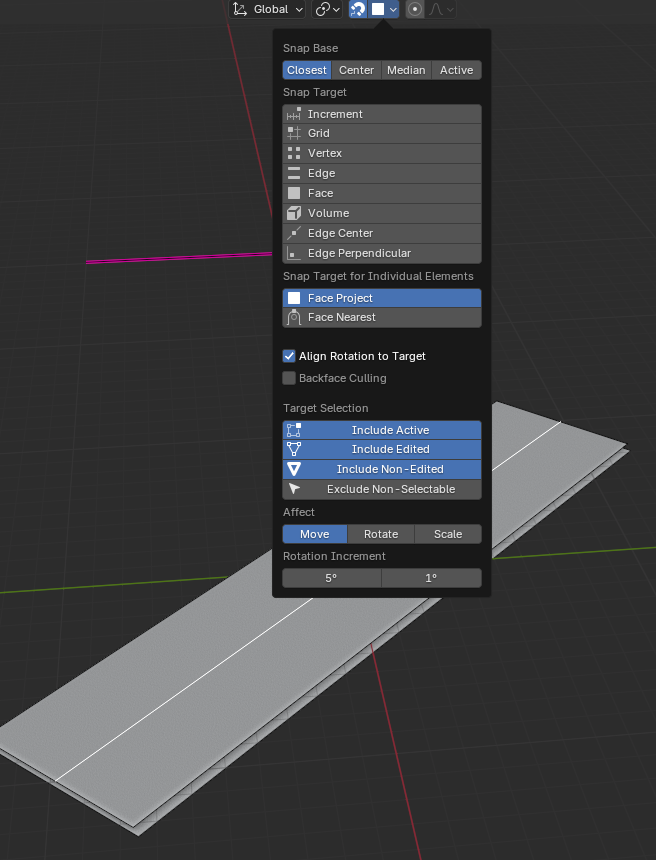
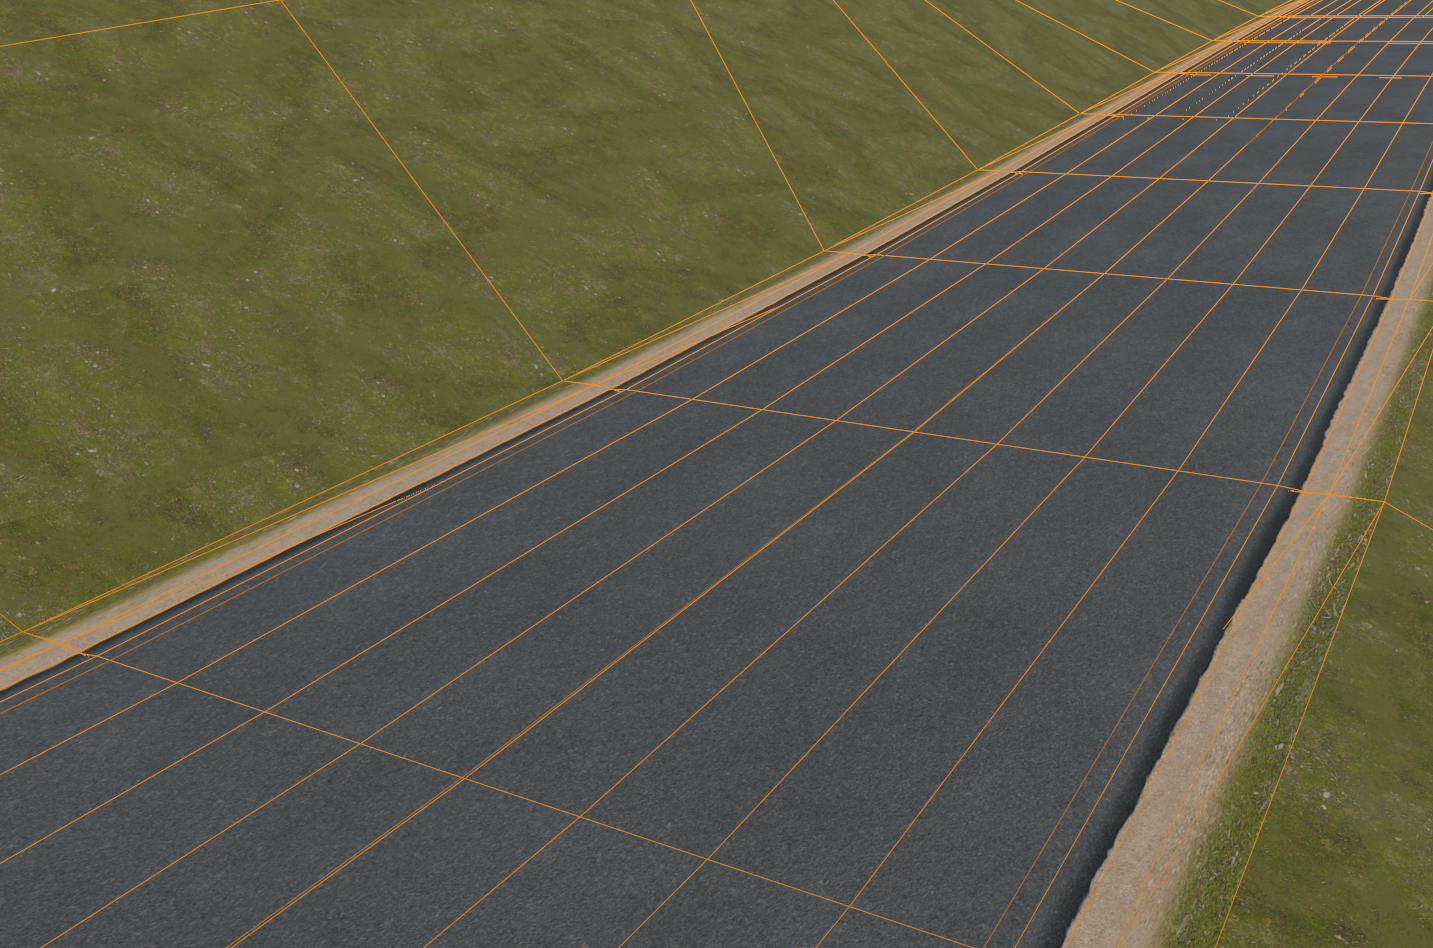
You can now move the edge which has the road generated on it to the terrain’s surface, do to so, simply select it and hit G and move it around, as you move it, it will snap onto the nearest terrain surface:
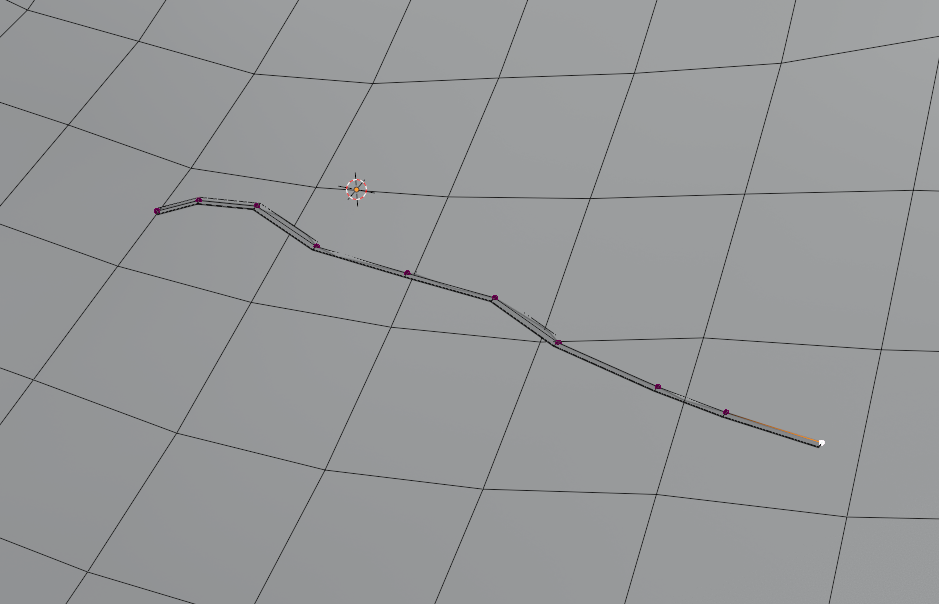
Now, select only one vertex from this edges and hit E to extrude it, place the newly created vertex wherever you want:
Repeat the operation to trace your first bit of road:
5) Turn off Performance mode:
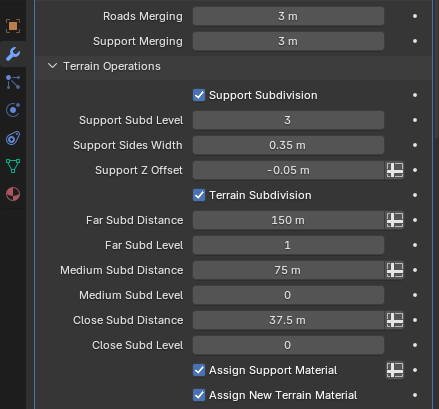
If your terrain mesh has a high density in mesh resolution, you may want to reduce the Roadscape terrain subdivisions or even completely disable it before turning off the Performance Mode, to do so, go into the modifier tab of the Roadscape 3.1 object again and look for the Terrain Operations tab:
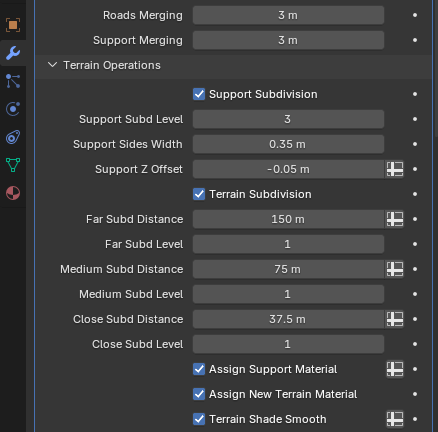
In here, you want to decrease each level of subdivisions for the terrain, namely, the Far Subd Level, Medium Subd Level and Close Subd Level.
By default they have a value of 1, meaning, each layer of local subdivision will apply one level of subdivision within it’s specified distance radius.
Let’s decrease both Medium Subd Level and Close Subd Level to 0 each:
Now, head to the top of the Roadscape menu and toggle off Performance Mode (this first checkbox):

You will end up with this result:
Now, all you have to do is to mask your original terrain mesh from the scene, since Roadscape does output the original terrain itself, a modified terra-formed version of it:
Head to the top right of the 3D viewport and select Viewport Shading like so:

If you end up having a terrain bug like some vertices are going straight down into hell like so:
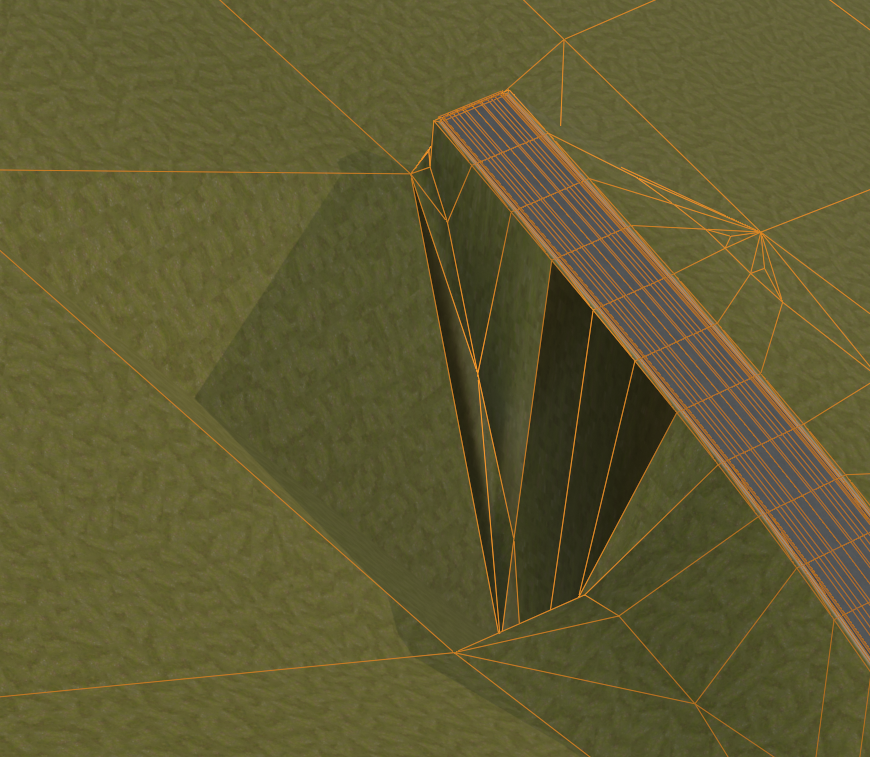
You can either, go back into Performance Mode, and move the vertex that is responsible for the position of this bit of the road and reposition it around a little, just a tiny amount could make the bug disappear.
Another way to fix this, in this instance, as the original terrain shown in this example is very low poly, we could simply bump up Roadscape’s terrain subdivision without moving any vertices, in this instance, we will simply increase the Medium Subd Level back to 1 as it was before:
And voila, the bug is fixed.
Congratulations, you have created your very first road!
Important Things to Remember:
1) Performance Mode
Whenever you work with Roadscape, especially when it comes to creating roads, bridges, intersections or anything that involves going into the edit mode of the Main Generator, it is important to turn on the Performance Mode, Roadscape being a CPU intensive process, it is almost impossible to design roads without entering the performance, otherwise you will experience severe lags and non responsive interface.
A recommendation, add the Performance mode to your Quick Favorites (just like we did for the Wireframe view), head to the Roadscape 3.1 object’s modifier tab:
And right click the Performance Mode checkbox and select Add to Quick Favorites:
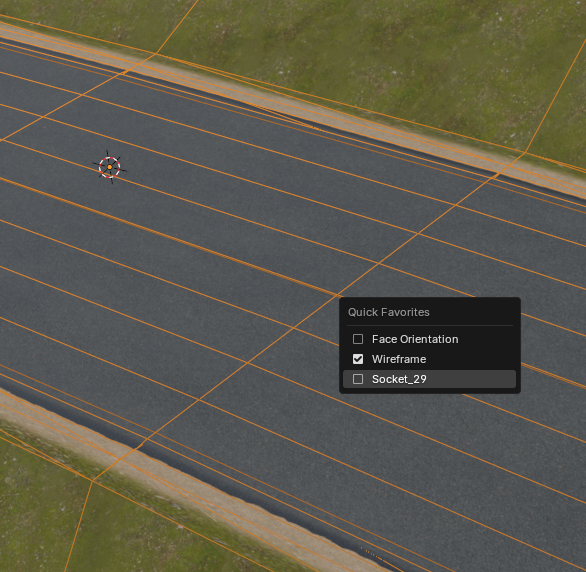
From now on, when you hit Q in the 3D viewport, you will see Socket_29 in the list, Socket_29 is actually the Performance Mode:
For now, it is still impossible for me to rename that socket with it’s according name, but it might become a feature in future Blender versions.
2) Fixing Terrain Merging Bugs
As we’ve seen in this first tutorial, the new terrain merging from Roadscape 3.1 can create some occasional bugs, some vertices going straight down into hell and back.
Some bugs can also appear when we don’t give enough room around the roads when a bridge goes just over that road, or even when two roads aren’t connected but they are overlapping each other on the Z axis.
All these situations can create bugs in the terrain merging, so be careful and remember that a quick fix is always to move around the vertices from the Path Mesh a bit, in most situations, this will help greatly.