1) Download the .zip file
Once you have downloaded the Roadscape.zip file from Blender Market, you will need to unzip it.
After unzipping, this is the structure you will have:

2) Create a folder in your Blender Asset Library
Open Blender and go to Edit > Preferences.
In the Preferences window, go to the File Paths tab.
Locate the Asset Library tab, in here you want to click on the + button on the right side of the window in order to add a folder of your choosing as the folder that will contain the Roadscape addon within your Blender’s asset library:
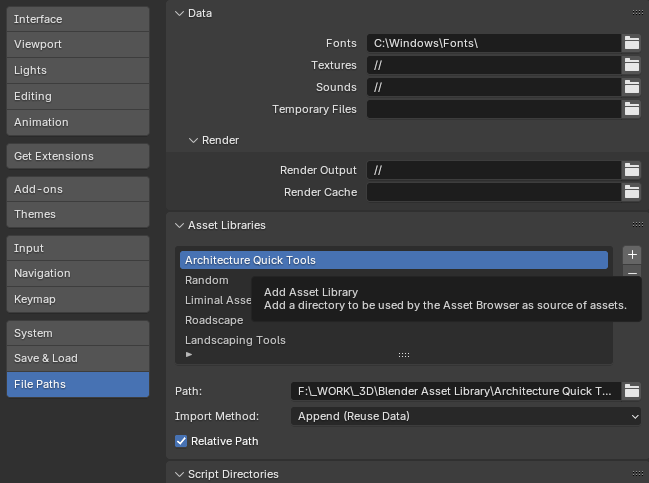
What I recommend you to do, is to have a root folder such as “Asset Library” and inside, have multiple sub-folders, these are the ones you will add as Asset Library paths.
Here is a screenshot of my personal folder structure:
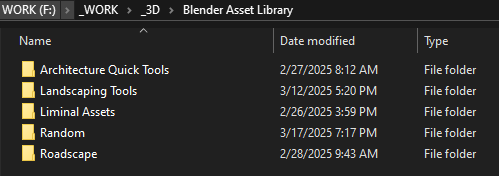
So, to recap, first create an “Asset Library” folder.
Then inside it, create a Roadscape folder.
Then go back to Blender > Edit > Preferences > File Paths > Asset Library.
Click on the + button.
Select the newly created “Roadscape” folder.
It should now show up as so (minus the extra folders shown in the following screenshot of course):

3) Copy Roadscape to your Asset Library
Go back to the unzipped folder you’ve got out of the downloaded Roadscape.zip.
Select the Roadscape v3.1 (Asset Library) folder and copy it.
Paste it into your Blender’s asset library recently created “Roadscape” folder like so:

4) Install the complementary addons
In Blender’s preference window, go to the Addons tab.
Select the upper right corner arrow and select Install from Disk…
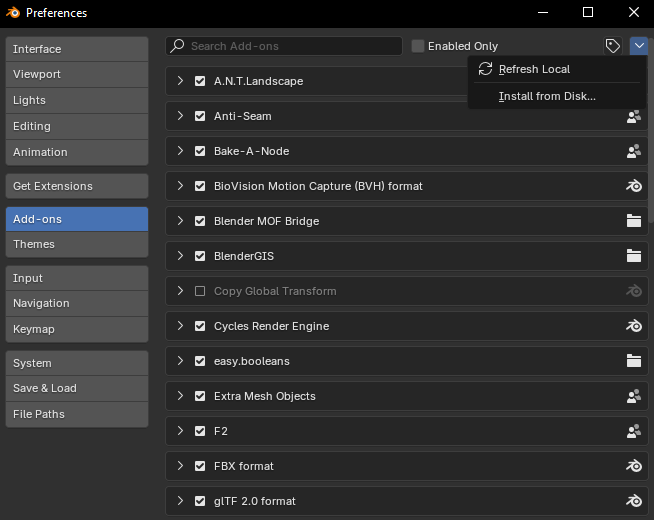
Go back to the unzipped folder, and go into the Addons folder.
In here, you will find the “procedural_uv_to_real_uv.zip” file and the “roadscape_performance_mode.py” file.
Select the “procedural_uv_to_real_uv.zip”.
It will install.
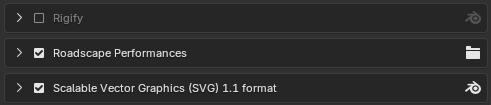
Make sure to enable its checkbox:
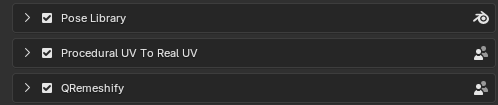
Repeat the same process but now select the “roadscape_performance_mode.py” file.
It will install.
Make sure to enable its checkbox:
5) Close and Restart Blender
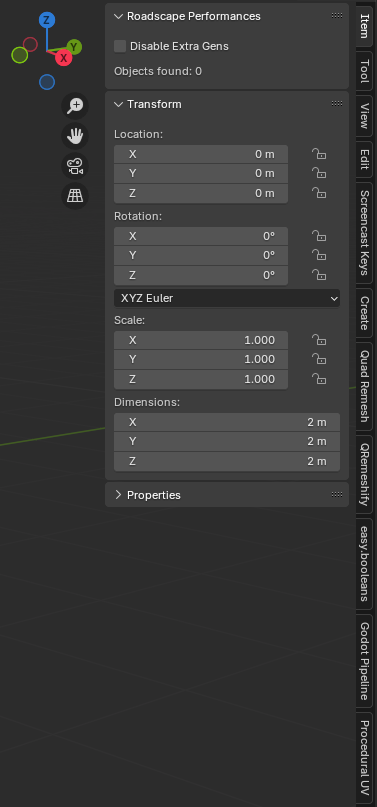
After restart, you should see the Roadscape Performances tab inside the Item tab of your 3D Viewport’s N Panel.
Aswell as the Procedural UV tab:
Furthermore, if you split your Layout and add the Asset Browser:
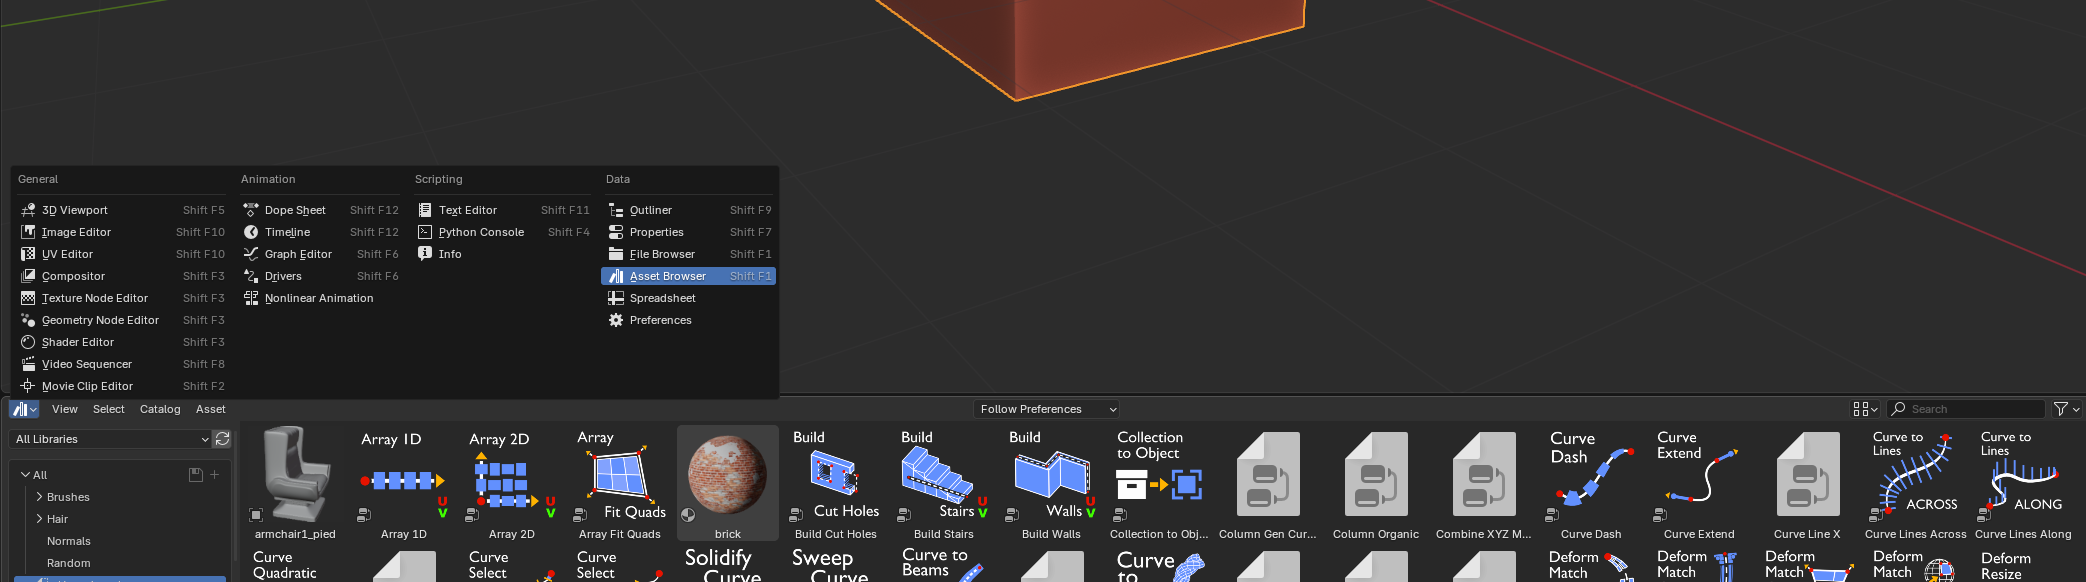
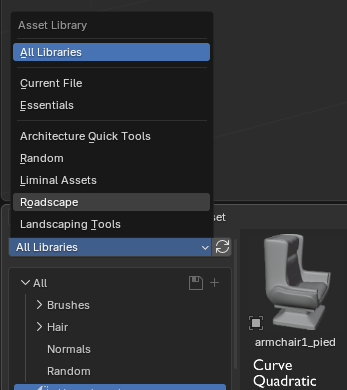
Click on the “All Libraries” dropdown.
You should see the Roadscape folder in the list:
If selected, your Asset Browser should now display the Roadscape generators as so (with more or less stuff in it, depending on the version):

The installation process is complete.