1) Duplicate an edge from existing road
Go into Performance Mode and unmask your original terrain object. Go into Edit mode in the Roadscape 3.1 object and select an edge from your existing road, duplicate it using SHIFT+D, move the vertices around to make the new edge be perpendicular to the existing road:
One thing you need to understand, is that, Roadscape works a bit like playing Legos, you want the Road mesh and Support mesh to merge with themselves in a proper quad fashion (or triangle in some instances as we will see in this tutorial).
Roadscape does merge by distance the nearby vertices of both meshes so the process is easy.
2) Subdivide the nearby edges
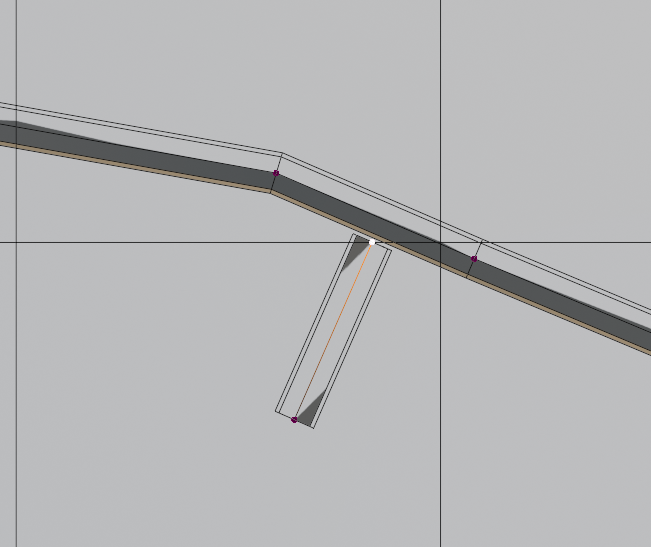
Select the nearby edge from the existing road segment and right click subdivide it:
Move the newly created vertex to the left by selecting it and hitting G 2 times, you can then slide it along the edge:
Keep this vertex selected and select the connected one on the right, and subdivide this edge aswell:
Move the newly created vertex using double G again, so that it’s close to where the new road segment ends are:
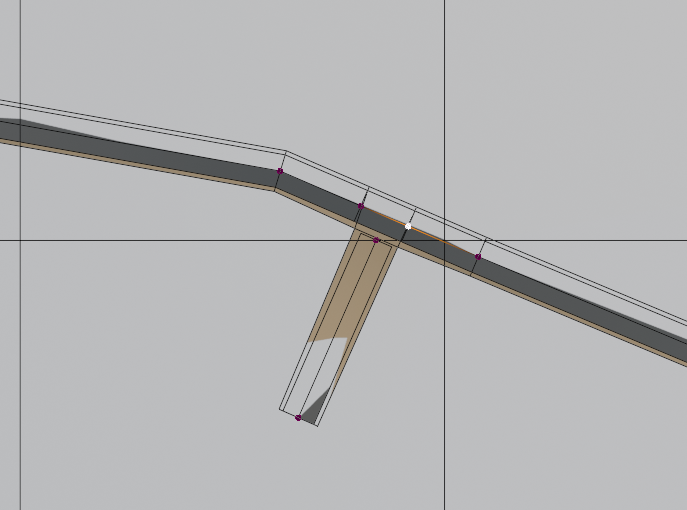
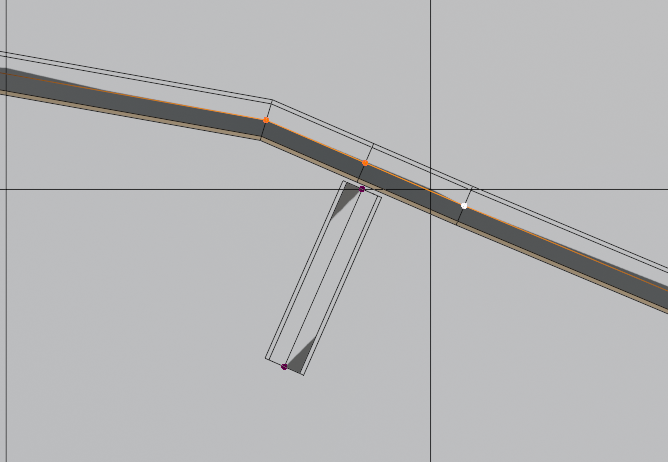
Zoom in and move these new two verts around in order to make both the Road mesh (the grey one) and the Support mesh (the beige one) merge with themselves like so:
As you can see, both the Road mesh and the Support mesh are correctly merging.
You can now exit Edit mode and disable Performance mode.
You can also mask the original terrain again.
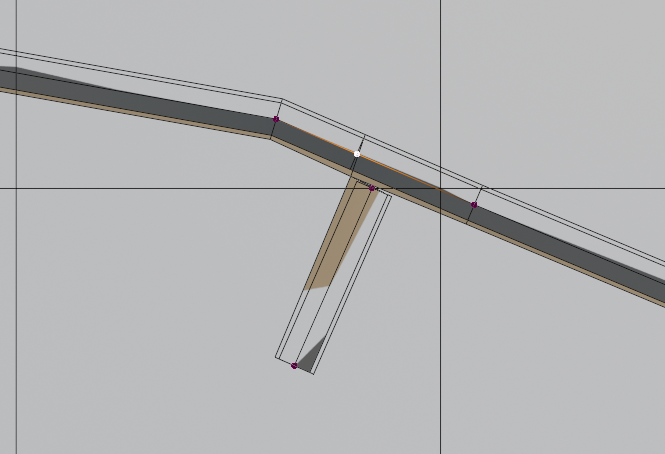
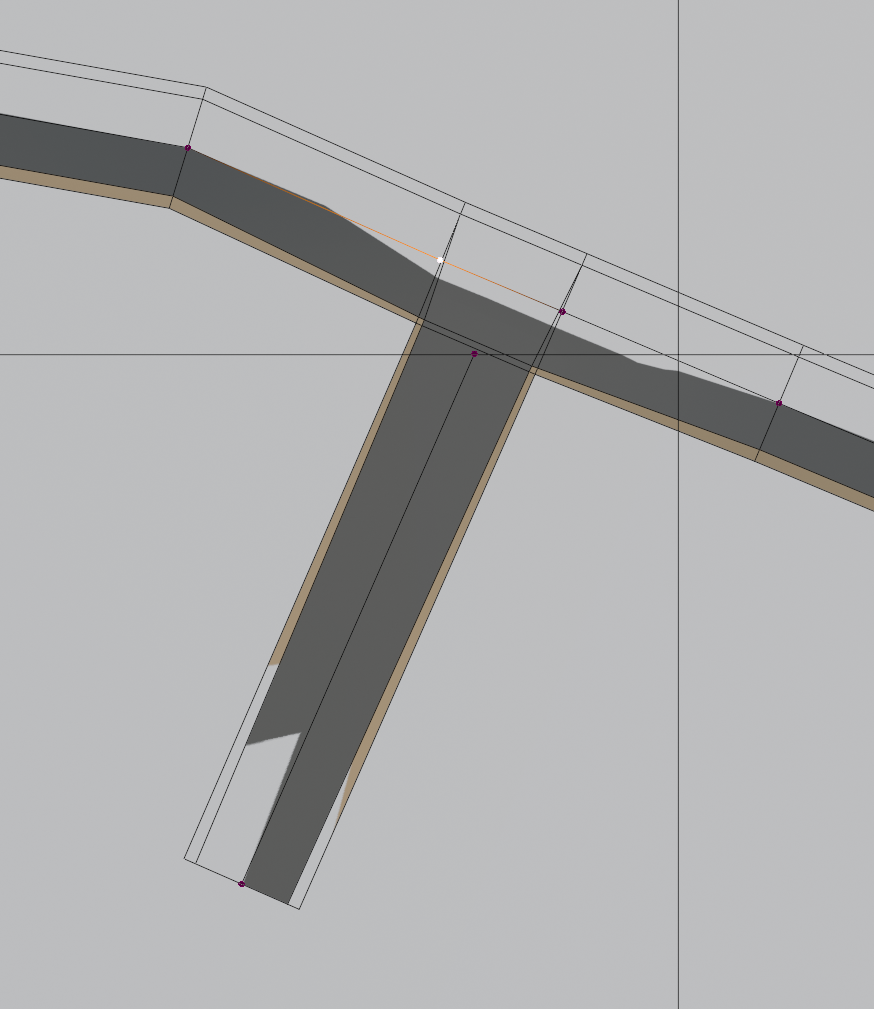
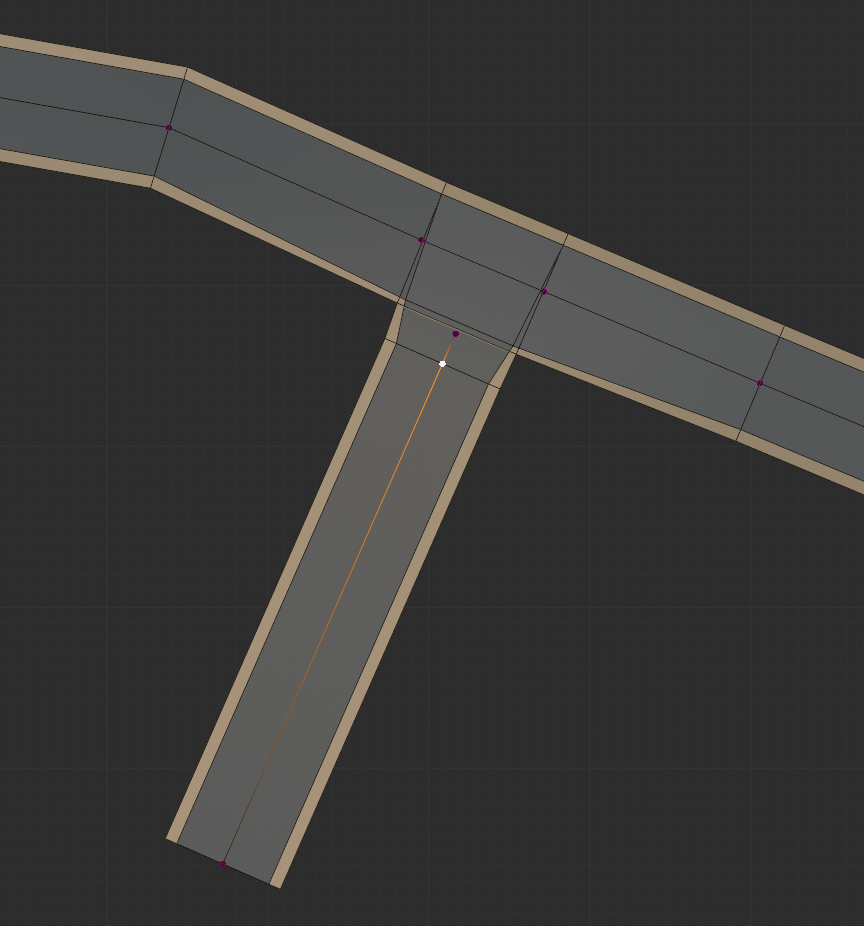
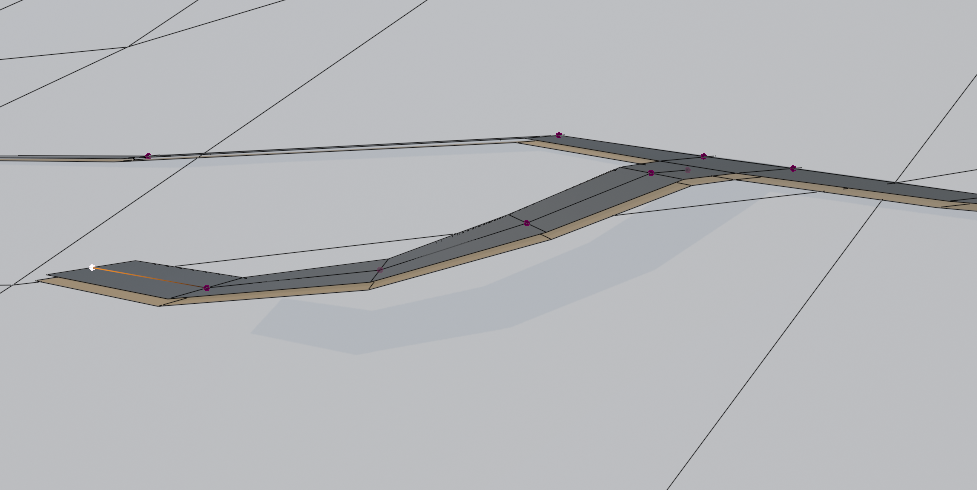
This is what we have so far:
This is ok, but this isn’t perfect, let’s try to make it look more realistic and fix the clipping support we can see on the right part of the intersection.
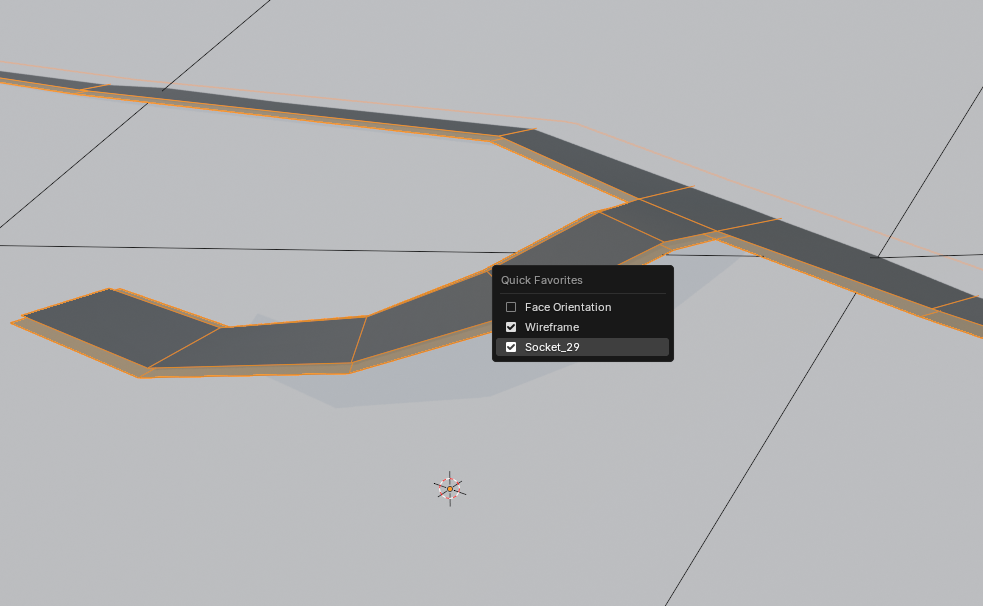
3) Adjust the Path Mesh
Go into Performance Mode again and Edit mode on the Main Generator object.
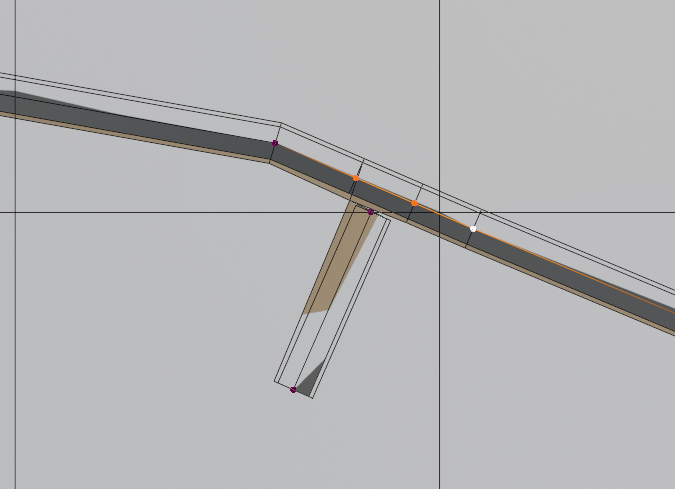
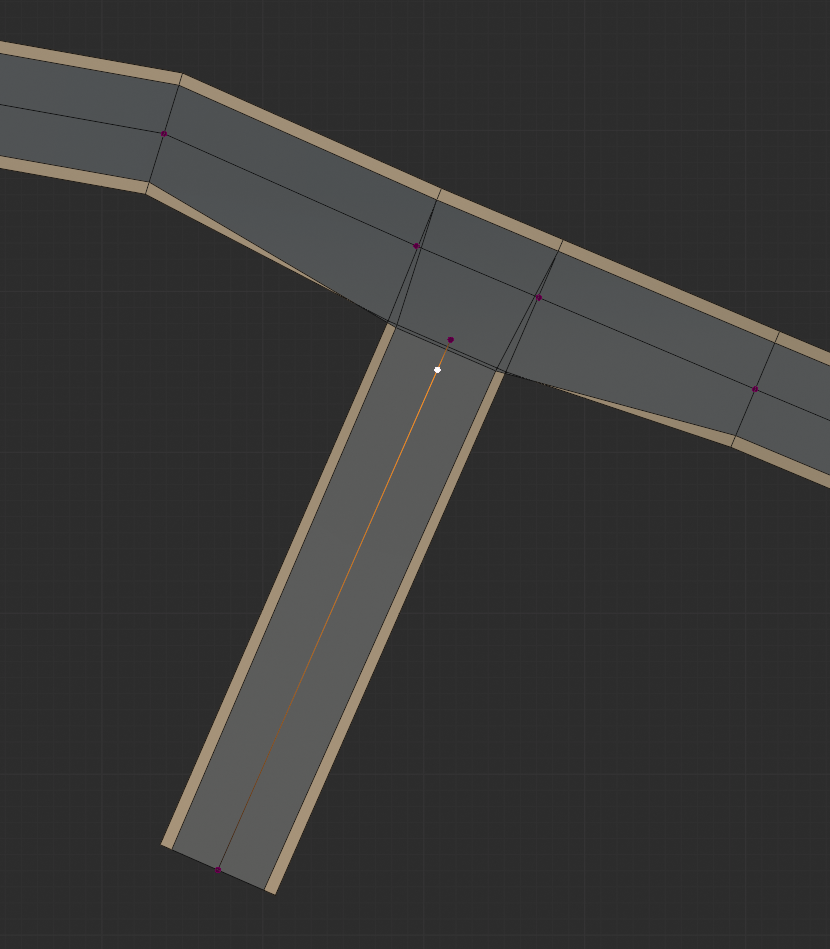
Select the new segment’s egde and subdivide it one time:
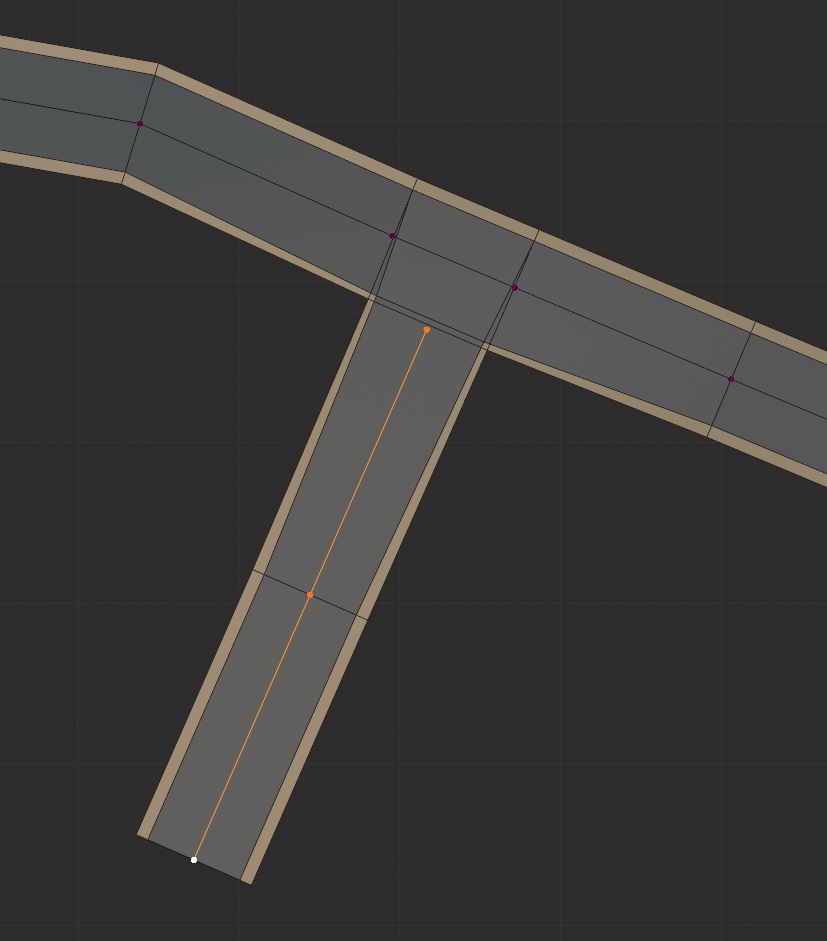
Select only the newly created vert and double G slide it along the edge to bring it closer to the intersection like so (be careful to not bring it too close):
3) Adjust the elevation
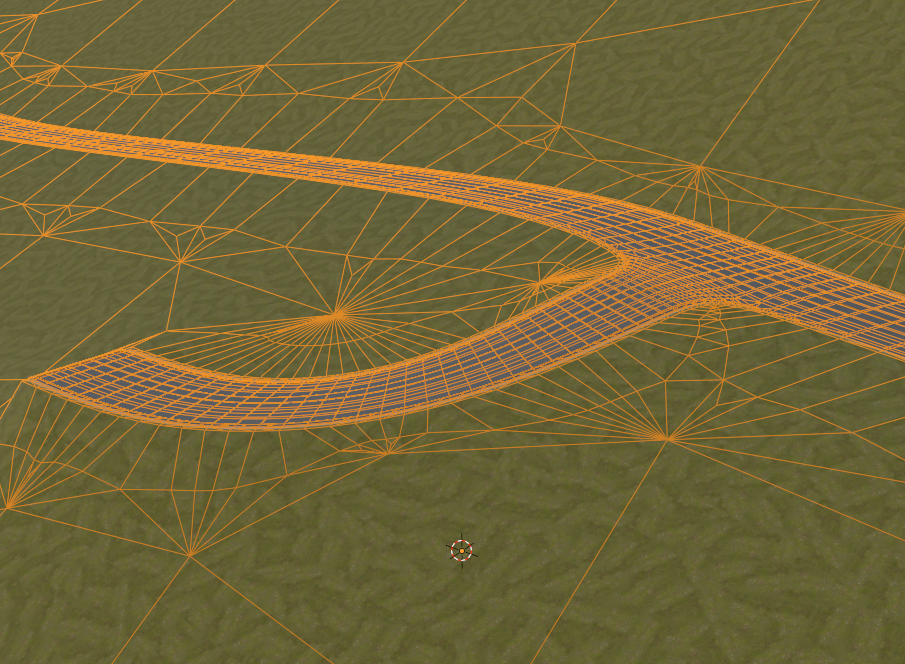
Let’s check the elevation of our intersection:
This isn’t optimal, we want all verts that are nearby the intersection to be quite on the same Z axis position (they doesn’t have to be right on the same position but the closer the better for no clipping), let’s move our vertices a bit.
Do a ALT+Z to see through the mesh, and move the vertices like so:

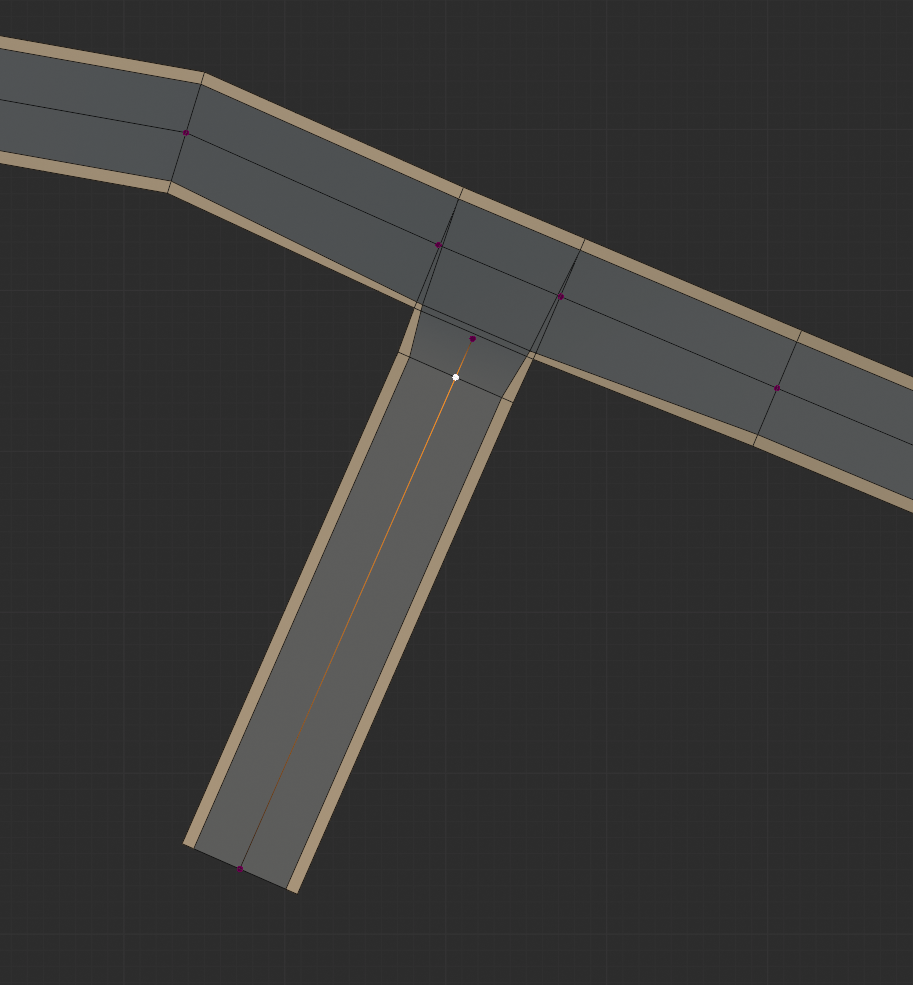
This is better, but we now have a problem, moving the vertices like so made the currently vertex (which is responsible for the subdivision in the generated road mesh) merge with the nearby generated road edges, we don’t want that.
Let’s go back to top down view by panning the 3D viewport and holding ALT.
And let’s move the vertex a bit away from the intersection in order to bring the generated road mesh subdivision into existence again, so from this:
To this:
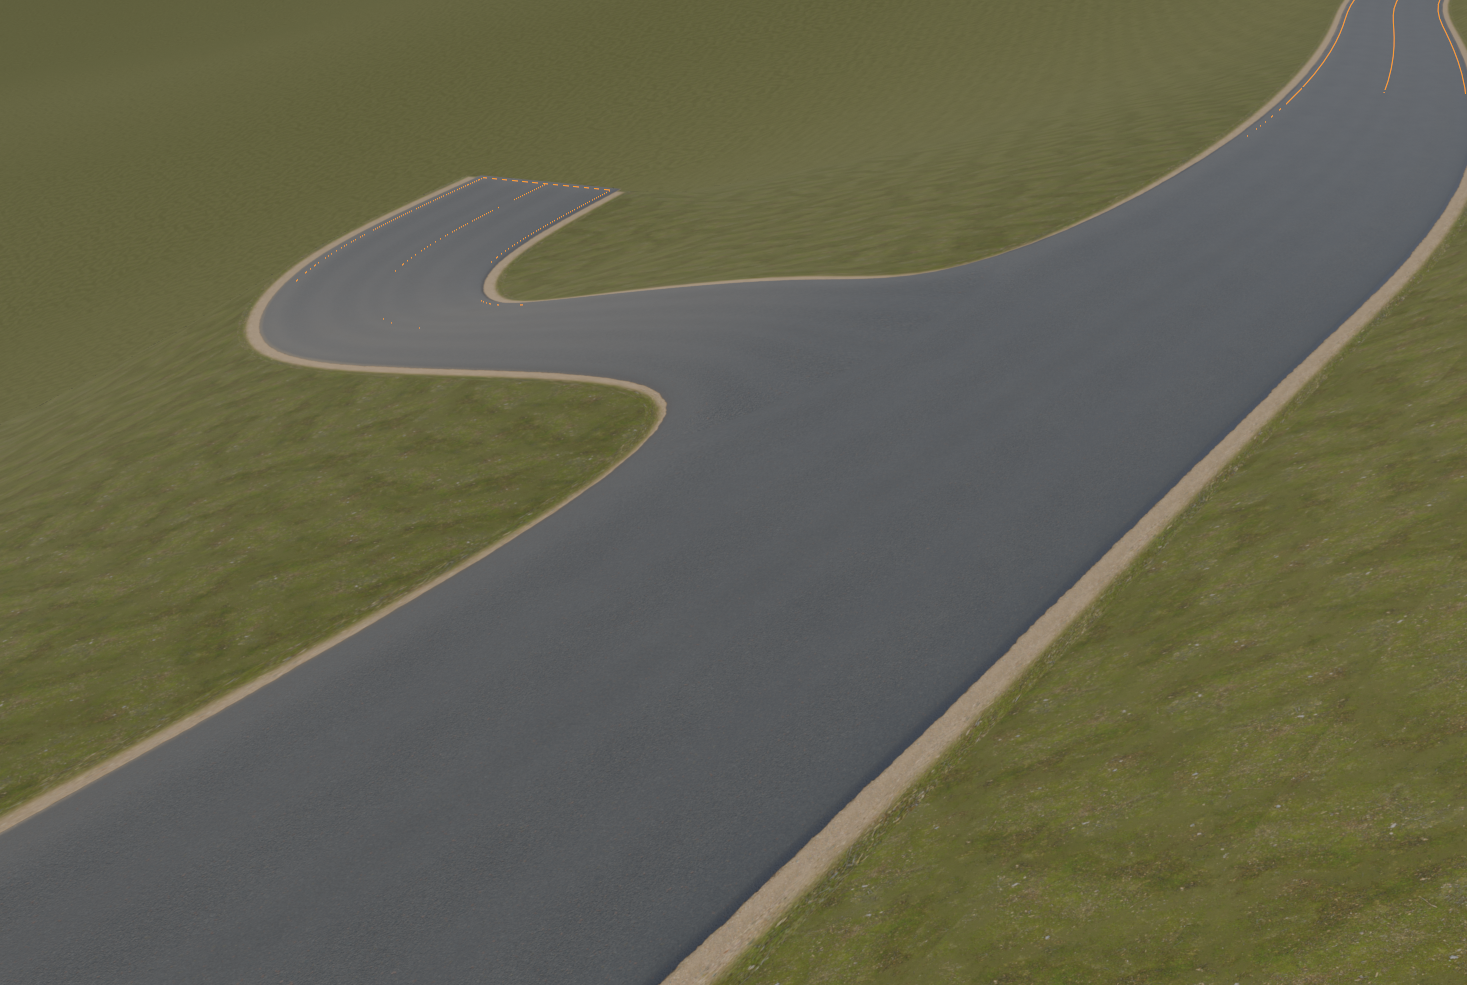
4) Final adjustments
Let’s subdivide the lower edge of our new road segment multiple times and move the verts around to create a more believable road section:

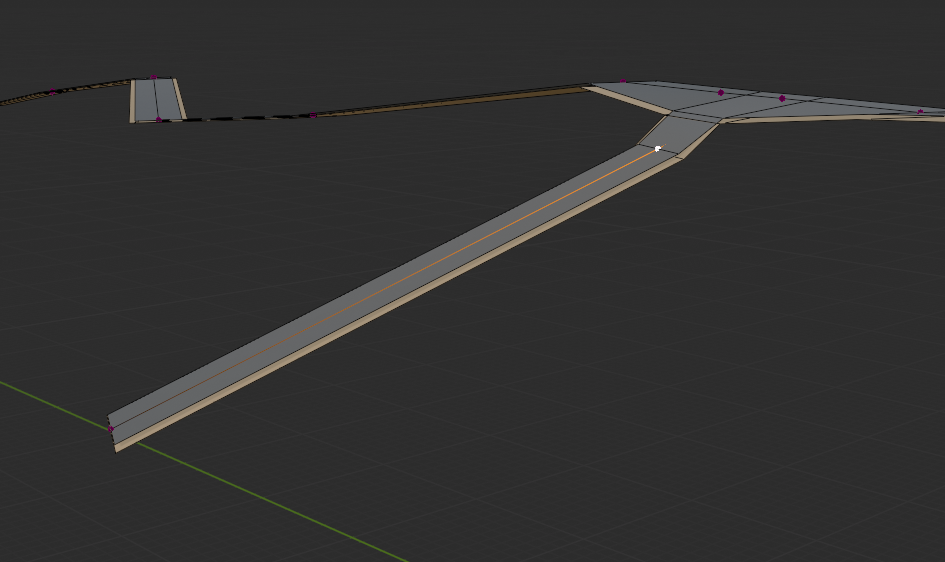
Let’s go into perspective mode, let’s unmask the original terrain object in order to see where we should place our verts in elevation and make the necessary elevation changes.
Let’s make the road stick a bit above the surface of the terrain because a too steep intersection isn’t very realistic:
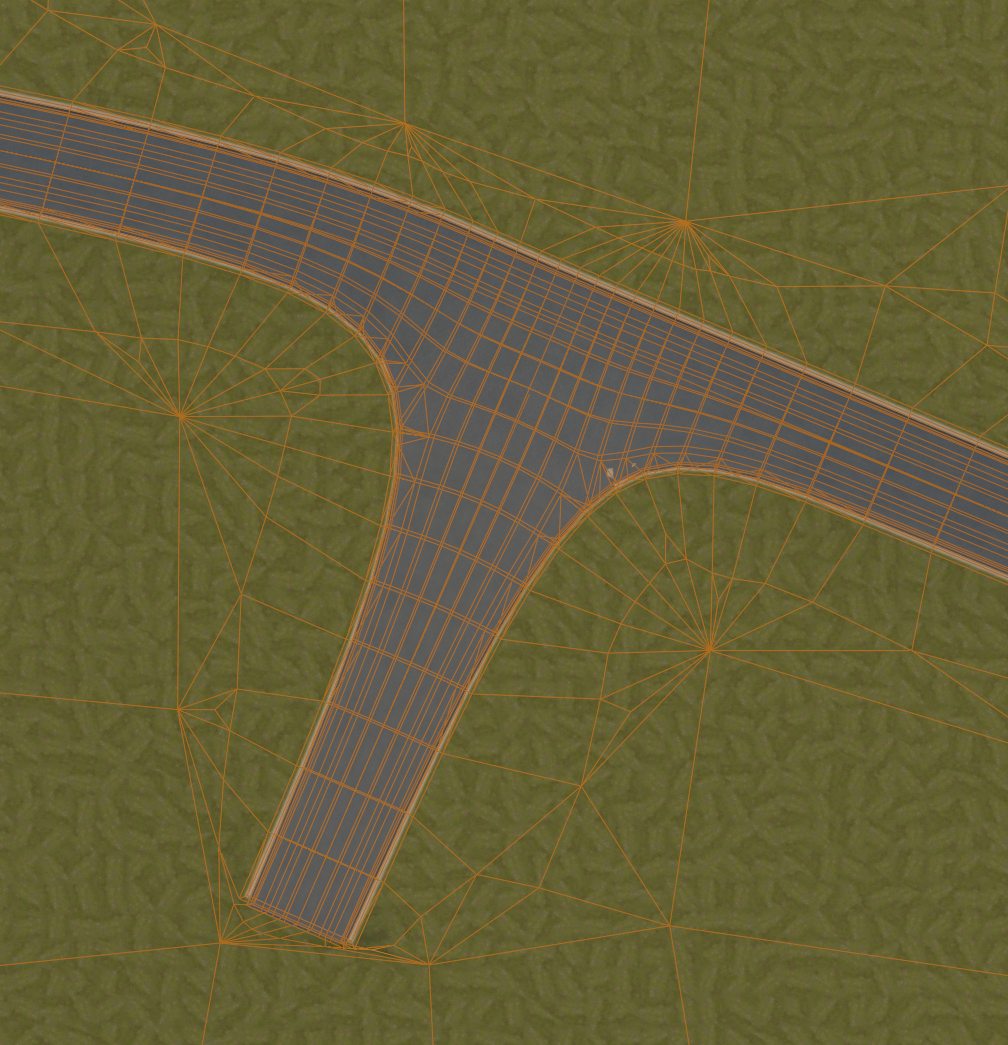
Looks good, let’s leave the Edit mode by hitting TAB and disable the Performance Mode:
Mask the original terrain object and voila.
Congratulations, you have created your first intersection!
Important Things to Remember:
1) Tighening the Path Mesh
As we have seen so far, adding subdivision to the edges around the intersection will help tighten up the transition between the two roads.
The closer the subdivision to the intersection, the tighter the transition will be.
2) Elevation Changes
We have seen that it is important for each vertices that are nearby the intersection to be roughly at the position on the Z axis, this will help make the road transition not clip with the support mesh.